Welcome!

This is my place to share my creative bits and pieces. My art has no rules, no limits and absolutely no order. My projects change with my moods but for the last few years, my main focus has been paper art. Cards, collage, mixed media and as many techniques as I can get to. My inspiration comes from everywhere.

I hope you enjoy your visit.


Showing posts with label die cuts. Show all posts

Friday, July 4, 2014

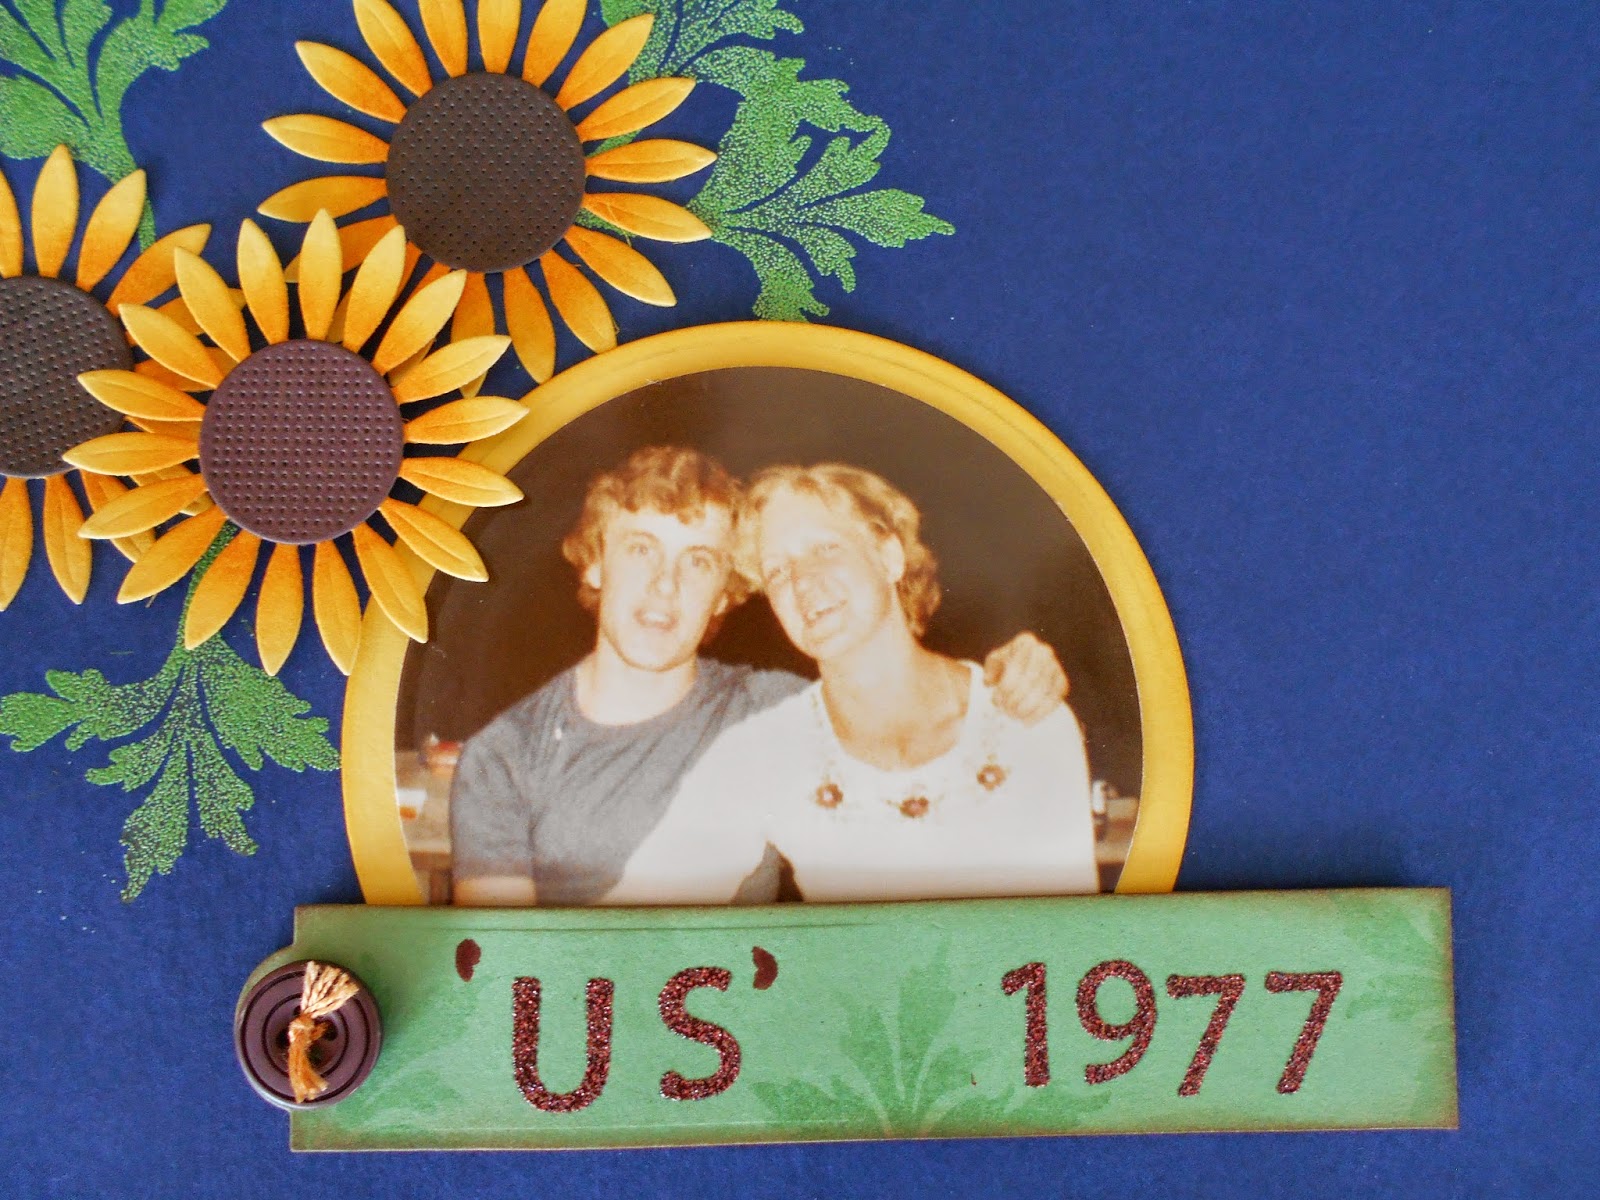
37 YEARS AGO- SERIOUSLY?


Hi there everyone. This really is a blast from the past- 37 years next month. This was taken during a camping trip in August of 1977. We were at Nisconlith Lake, with a bunch of DH's family.So much fun!

I am joining several challenges with this page-


'In the Navy' challenge


Die cut, and buttons and/or bows


There you have it- four challenges and I had a lot of fun remembering way back when.
Please go have a look at the other challenge entries- even better, play along!

Thanks for stopping by- I appreciate it!


Tuesday, April 15, 2014

BLOSSOM BITS ~ CONGRATULATIONS

Hi there!
This card is a real mixed bag-dry embossing, stenciling, die cutting, and stamping. The congratulations stamp is one of five in this set from Quietfire Design.
The nine squares were stenciled, then attached to the dry embossed panel with foam tape. The panel was adhered to the card base and the stamped piece was attached with foam tape.
After cutting out the flowers and foliage, it was cut into sections and glued over the squares.
I'm using this card for these challenges:
VIRGINIA'S VIEW CHALLENGE - using stencils
 
CASE THIS SKETCH


Please click on the links and go see all the great creations for these challenges.
Thanks for stopping by today- I appreciate it!


Wednesday, January 8, 2014

WELCOME- SPLIT NEGATIVE

Hi Everyone! I had some fun with my Silhouette Cameo electronic cutter, today. I chose "welcome" from Quietfire Design, and cut it out in white cardstock, and black cardstock.
Split Negative is a stamping technique, carried over into paper-piecing, but takes much longer to do. It's a little bit like doing a jig-saw puzzle, and re-positionable tape is a big help.
After removing all the pieces from the cutting mat, I placed the black outside/frame piece right side up, and fit the white lettering into it. Then the black pieces were put in to fill the spaces. Then, I took the white outside/frame piece and laid over the black, carefully matching all the edges. I applied the re-positional tape to keep it aligned. I filled the frame with the remaining pieces, then laid my ruler across it, and cut it from side to side. Another piece of the tape across the piece, before I cut it would have been a good idea too. However, I didn't think of it then, and had to put a lot of pieces back in after I attached the white frame section to the mat, that I'd already edged with my Spellbinders dies.
My ball point glue pen fastened down all the pieces as I continued to build up the rows to complete the design. I left the centers out of both 'e's, just for a little contrast.
The flowers were punched from vellum, stamped with Quietfire Design stamps.

I also ran the panel through an embossing folder, avoiding the decorative edge, making this and an inlaid embossing technique as well.
 
Thank you for stopping by!


Wednesday, November 27, 2013

NOEL CARD -NO STAMPING

Hi Everyone!
No stamping at all on this card but the papers have been cut four different ways. I only realized that after I photographed it. The red foil paper was cut with my paper trimmer to form the background and narrow strip. The red foil paper is recycled from Christmas crackers we had at our table one year. It is subtly embossed- it came that way. I embossed a piece more heavily with a folder and it broke the foil, leaving white cracks everywhere. Not so pretty.
The 'chain' strips were cut using a die and my Big Shot machine. That's two!
 

The green accent flowers were punched using two sizes of six-petal flower punches, stacked and beads added. My favourite element is the word NOEL, cut with my Silhouette Cameo machine. The beautiful cut file is from Quietfire and for sale on Silhouette's site HERE.
 
There you have it- four ways of cutting paper and a little recycling added in.
I plan to share this at Cards in Envy for their "punch it" challenge.
 
I encourage you to check out the links and get inspired!
Thanks for stopping by and have a wonderfully creative day.
 

Tuesday, May 14, 2013

ONE MORE RETIREMENT CARD

This card was made for Joan's staff to write in for her.
Again with the garden/flower theme.

The bouquet slides out for writing.

I added a small easel hinge to the back so it stands up.

Added some flowers to the envelope.
 
Thanks for looking!

Thursday, December 6, 2012

STENCIL & PUNCH & DIE....OH MY!

Once again, I am pleased with simplicity. This card began with a scrap on my work table.
The top layer, before I stamped it with the sentiment, was a piece I'd put aside after flipping my stencil onto it. Whenever I stencil, after using it on my project I like to lightly mist it and flip it onto cardstock to print the negative. The print here is subtle because the colours used were so pale. The piece was stamped then trimmed and the corners were punched.
This was layered onto the dark die-cut square, which was then adhered to the card base.
 
Quietfire Design has Christmas goodies on sale!
 
Thanks for stopping by and I hope your day is FABULOUS!

Wednesday, August 1, 2012

COLOURS OF SUMMER

Don't these yummy colours remind you of summer? I don't know if it's the bright clothes we wear or the colourful food we eat but summer is yummy with colour! Colour Q never fails to bring a beautiful pallette to the table- this week is no exception.
This is my entry for the challenge. Nothing fancy, just stamping, die-cutting and sponging. Basic card making but bold and bright.

I hope your day is bold and bright and I thank you for stopping by!

Monday, July 30, 2012

LAYERED CUTS & A FEATHER

This card has six layers, including the feather. The card base is white, but covered edge to edge with the first layer. The feather was stamped onto some 'paint dabber smoosh' paper, then cut out. The rest is layered die cuts, one with embossing, a couple rhinestones and ribbon.
Easy peasy!

This one's for you Kate- I know how you like peacocks.

Have an incredible day and thanks for stopping by!

Thursday, September 15, 2011

CHALLENGE TIME AGAIN


Don't you just love these colours from the ColourQ challenge?

This is my card for it and I'm kind of surprised by it. I really like it but the surprise is the gray base. Seriously, I would usually go with the turquoise or celery base and use gray for the accents. I'm not sure why I did it this way, but I'm sure glad I did!

Please take a minute and check out the other challenge entries. I know you'll like what you see.

Have a fantastic day!

Sunday, July 10, 2011

PROUD? YOU BETCHA!

My awesome little niece worked very hard and got her grade twelve. It's been a long time coming for her and we couldn't be more proud and happy for her. So, a card and a gift, and no, I didn't plan having them match  :) they just turned out that way.
I had the best time making this bracelet for her. Beads and wire are right up there with paper and ink for me.

Way to go Kiddo!

The card colours are the challenge colours at Colour Q this week.

If you want to play along, go here.

Thanks for coming by. Enjoy your day!