Welcome!

This is my place to share my creative bits and pieces. My art has no rules, no limits and absolutely no order. My projects change with my moods but for the last few years, my main focus has been paper art. Cards, collage, mixed media and as many techniques as I can get to. My inspiration comes from everywhere.

I hope you enjoy your visit.


Showing posts with label butterfly. Show all posts

Wednesday, July 30, 2014

TOOT TOOT! THAT'S ME, BLOWING MY OWN HORN!

Hi Everyone!
You may remember this card from a recent post. 
I just found out today that it made the top 3 at Butterfly Challenge!
Quite happy and excited!


There is a lot of great inspiration over there, so have a look, and think about entering the current challenge.

Thanks for stopping by!

Friday, July 18, 2014

CHALLENGE CARD

Hi Everyone! I hope you are all enjoying your summer. Busy, fun times for all.
I took some time today to create a challenge card, and build my birthday card stash.

BUTTERFLY CHALLENGE #11  is all about adding spots and stripes, along with a butterfly. I picked up the butterfly, months ago, at my local dollar store. It was white, so I sponged some colour on, then attached it to the card.  The spots are obvious, the stripes are subtle, stamped using the smaller stamp from the DOTTED HARLEQUIN BORDERS  set from Quietfire Design.


The flowers in the corner, are clear, sparkly stickers, like Peel-offs, that have been coloured with permanent markers.


The bold HAPPY BIRTHDAY from Quietfire Design has weight, to anchor the design to the card front.

I enjoyed creating this birthday card to share today, and I hope you'll click on the challenges to see lots of other great projects.
I appreciate your visit!


Wednesday, April 9, 2014

FLOURISHES & BUTTERFLIES

Hi there! Don't you just love the bright, cheery colour here? Me too.
 
This card has scattered embossing on the white base layer using an Anna Griffin folder. The edges are distressed, and it's attached to a dark brown card base.
The colourful panel, and white cardstock has been die cut, then the white cuts embedded in the coloured piece. This was matted with dark brown cardstock.
Burlap paper-absolutely love this stuff- was stenciled, using the opposite piece from the white die cut, as the stencil, and dark brown acrylic paint.
The fabulous butterflies are from a new e-cut file from Quietfire Design. The sentiment stamp is Quietfire Design as well.
All the pieces were layered and attached, ribbon added, pearls added, and DONE!
 
I am sharing this card on Splitcoast Stampers for the embedded flower challenge.
 
Also sharing at-
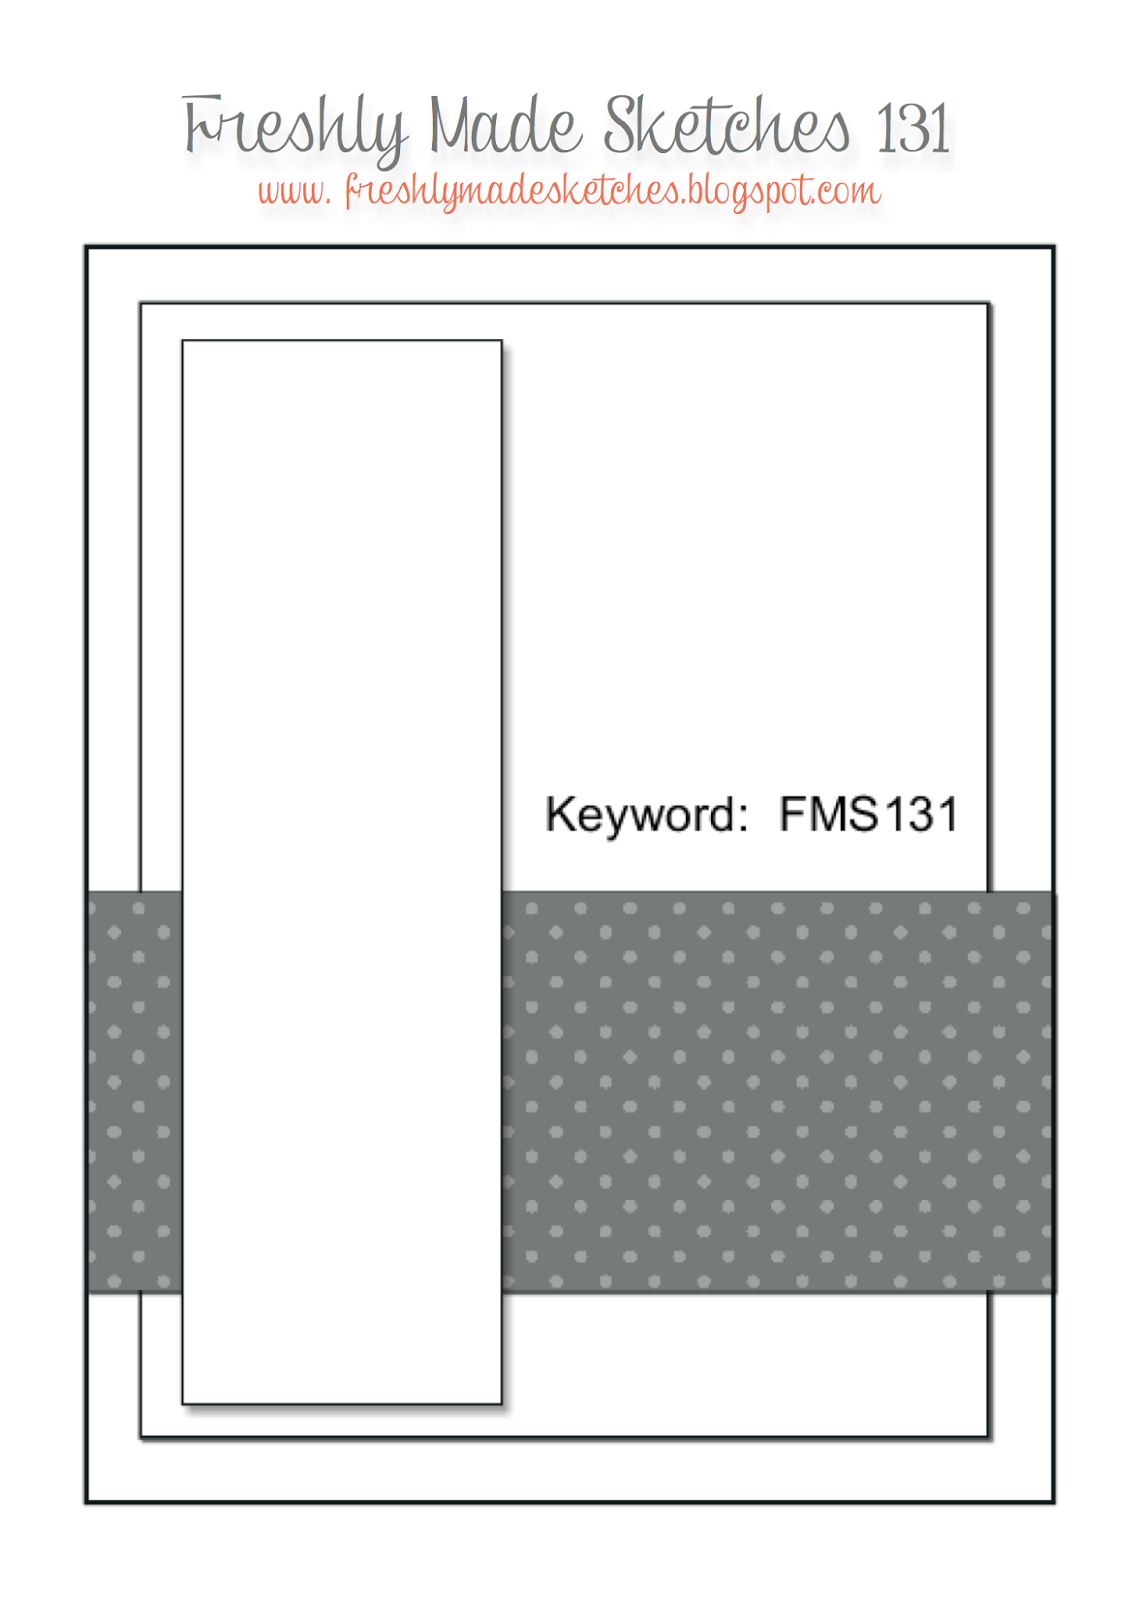
Freshly Made Sketches
 
Thanks for looking and I hope you look around at the other challenge cards- just click on the links above.


Thursday, March 7, 2013

COLOUR Q & THINKING OF YOU

Tulips for Spring. Colour Q is giving us a peek at what we can hope to see in a month or so. These ones will last much longer. :)
 
Now that I see this card, I wonder if I shouldn't have reversed the colour placement. I mean, calypso coral for the background and daffodil delight for the butterflies, still edged with cherry cobbler.
For now, I'll share the technique used here.
It's called Puzzle Piece Resist and you can find the full tutorial HERE. 
This shows the clear embossing and the puzzle piece butterflies .
 
 
You can see what others have done with the Colour Q challenge HERE.
 
I hope you can find some time to try the colour challenge and/or the technique.
Flex some creative  muscle today!
 
Thanks for stopping by- I appreciate it.


Monday, July 23, 2012

MILK JUG BUTTERFLIES

It's a win, win! I get the benefits from drinking the milk, then I get a free material to create with.
 I love that!
This mobile was super simple. Just cut out the butterflies and flowers with the Big Shot, punch a few holes in them, then crochet a chain, including the butterflies. This would make a pretty garland too- I may do that with the leftovers.
I kept this project very simple. You could emboss, punch more holes, add colour etc, etc.No limits.
The flower shaped ring was a welcome find at the Thrift Store. I wrapped it with ribbon then tied the butterfly strands on. A few smaller pieces of ribbon tied on and that's it! Easy peasy.

I'm currently saving my laundry detergent bottles, so we'll see what they become.

Enjoy your day!
Thanks for looking.


Tuesday, July 17, 2012

DABBER SMOOSH

I've recently pulled out the paint dabbers I bought last year in Vernon. A couple had started to dry out but I added water and stirred it up. They work great.
First, spray white card stock with water, then dab the paints randomly. Spray again if needed to keep the paint wet. Once the surface is painted how you want it, lay another piece of card stock over it and press it down so all  the surfaces touch eachother. This is why it's important to keep the paint quite wet, so it will  transfer to the second sheet of card stock. Peel apart and leave both pieces to dry.
Once dry, stamp, cut out or punch and assemble card.

Summer is here!
May you all have a safe, happy and creative day.
Thanks for stopping by.

Wednesday, June 27, 2012

LOVELY LAYERS

No fancy techniques here, just some basic stamping, embossing, sponging and layering. However, just the basics proves that you don't need some out-there technique to make something pretty. Although, personally, I love some of those out-there techniques.
Quite often, our stamping features an image and uses a sentiment like an accessory. For this card, I've done the reverse by featuring the sentiment. How could I not, it's so beautiful!

I hope you have a fantastic day!
Thank you for stopping by.

Friday, May 18, 2012

COLOUR Q-TRY IT AGAIN

Once again, the great colour combo. My second attempt...
Mono embossing is a fun technique layering the same colour on itself, having the embossing break the colour up and give it tons of tactile and visual texture. Butterflies. They have been a popular design element for years and they probably always will be. They're like flowers or geometric shapes, a good 'go to' for designs. The light sheen on the butterflies comes from the crystal effects that I brushed on after  I completed the card.
Here is another look without the shine...
 Just a reminder to you- you can click on a picture on any post, for a larger version.

Have a ridiculously amazing day! (read that on Pinterest and I love it)


Wednesday, September 1, 2010

B'DAY B'FLY

Just die cut, then pressure embossed the butterfly, then sanded off the top layer a bit. What else do you make for a friend having a birthday and she LOVES butterflies?
For me, any kind of embossing adds to a card and never gets old.

Thanks for looking!